

To make the ring you'll need a few basic supplies: a rolling pin, silver and pink clay, gold glitter, a small shape cutter, your finger, and some extra tools to engrave designs.

Condition clay and roll into a small log. (To find out how to condition clay, go to my How to Make a Doll Macaroon post) Set the log in front of you on your place mat. Sprinkle a generous amount of glitter in front of the clay.

Roll the clay in the glitter and condition a second time to distribute the glitter all around. Use the rolling pin to roll the shiny log to a length long enough to wrap around your finger. When sizing the ring, make sure to wrap loosely around the biggest joint of your ring finger. This ensures the ring will fit you snugly after baking. If you like, you can engrave some designs using a toothpick or special clay tools.

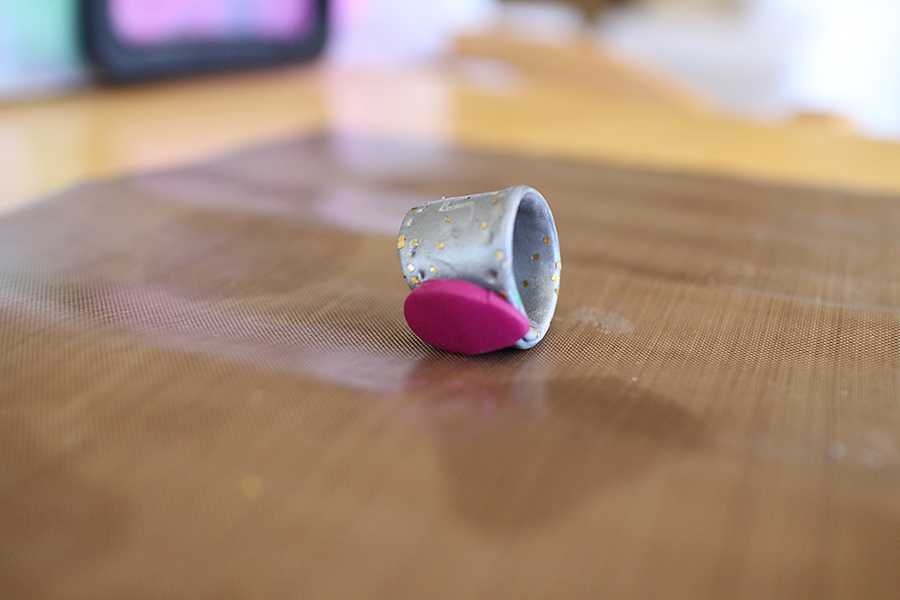
Take off the ring and roll the pink clay to about a 1/4 of an inch thick. Cut out your chosen shape and use it to conceal the overlap of the ring base. Bake according to the directions on the package. Let cool and show off your style! Here are some images of the ring:

Have fun making your ring!

What other charms have you made? Maybe you could try to make mini food charms! If you like that idea, why not make a mini macaroon charm?
Baby Girl
No comments:
Post a Comment
Thank you for commenting! We love to read your comments. Our mom moderates every comment before we get to read them, so please keep it kid appropriate.